 |
Projects
|
Projects Welcome To KenSeibert.Com Audio
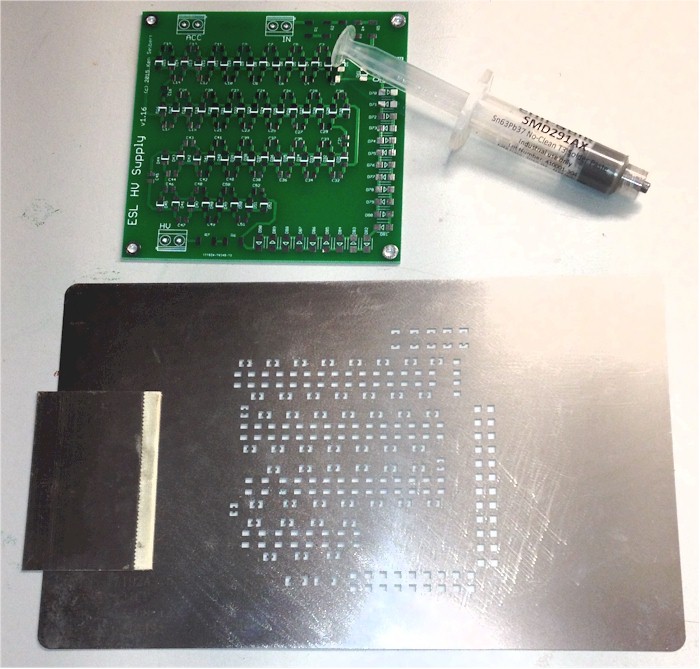
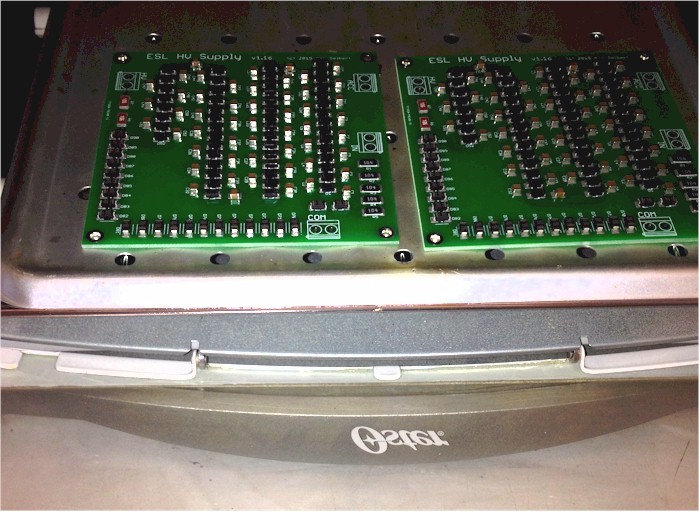
Let's start with the bare board:

With this many small components I choose to use solder paste and a stencil. The boards can be assembled using a fine tip soldering iron, but I find it much easier to use the stencil. A stencil fits over the board and allows paste to be deposited on just the solder pads.
The paste is spread using a small piece of metal.
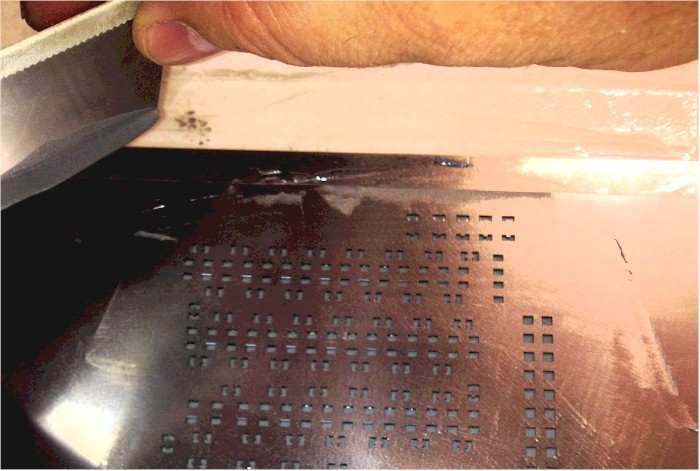
The solder deposited is the thickness of the stencil.
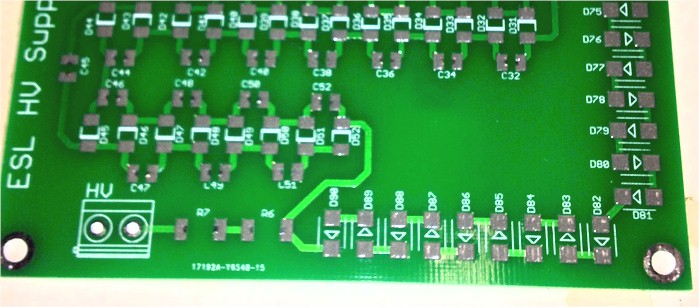
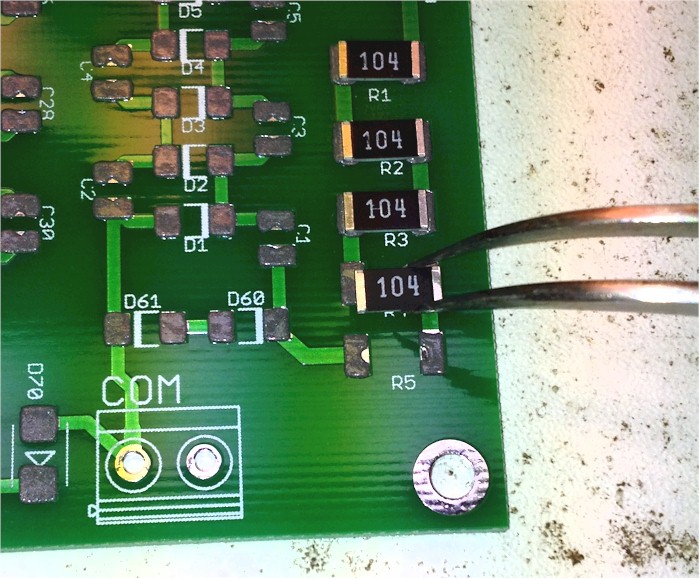
Components are placed on the board using fine tweezers - paying attention to the proper polarity of the diodes!
When comnplete, the board is baked in a small oven to melt the solder. There is a description HERE of how to do the baking process.
Once the board is cooled it is inspected then sprayed with a coating of insulating varnish. Since there are high voltages and the parts are so close, this is a prudent protective step. I am using the Sprayon Clear Insulating Varnish. It is about $5 for a good sized can. I get it from Zoro Tools

Once the varnish dries, the screw terminals are soldered on.
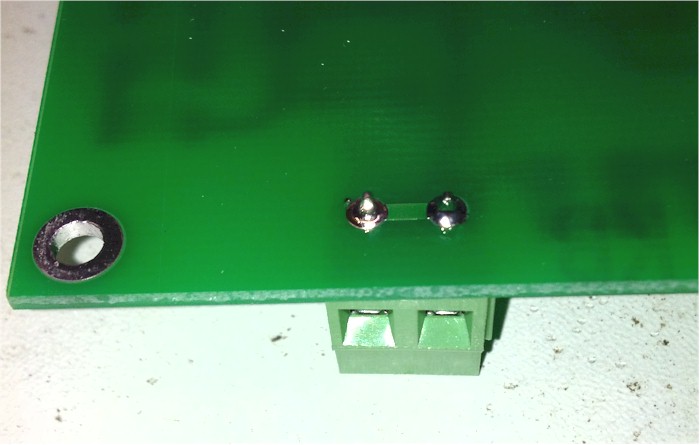
On the back of the board, the leads make sharp points which is corona arcing waiting to happen. I trim the leads close to the board, then retouch each joint with extra solder. This makes the solder joint a round dome instead of a sharp point. The roundness makes arcing much less likely.
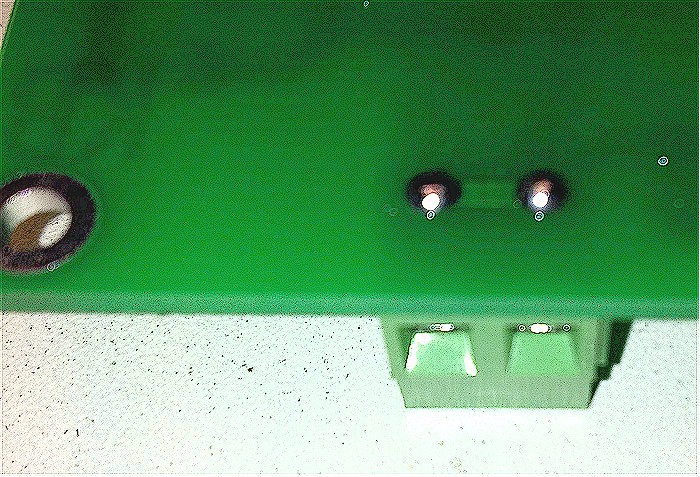
The back of the board is then sprayed with the insulating varnish. This completes the assembly process.
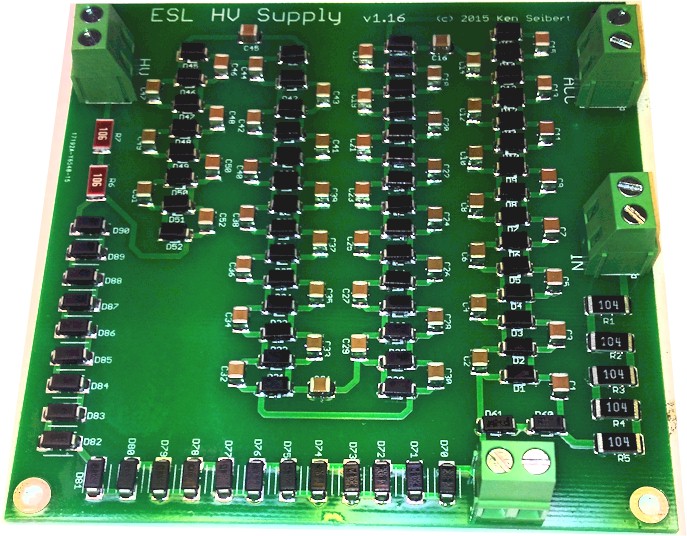
If you are interested in purchasing these boards, either the bare board or a completed unit, send me an email. The bare boards are $10 each with completed and tested boards at $45 each. The completed boards are built to your voltage specifications.